RF96
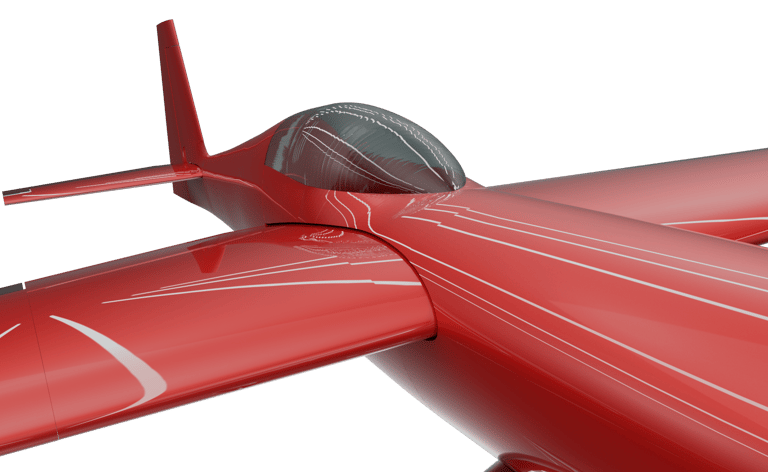
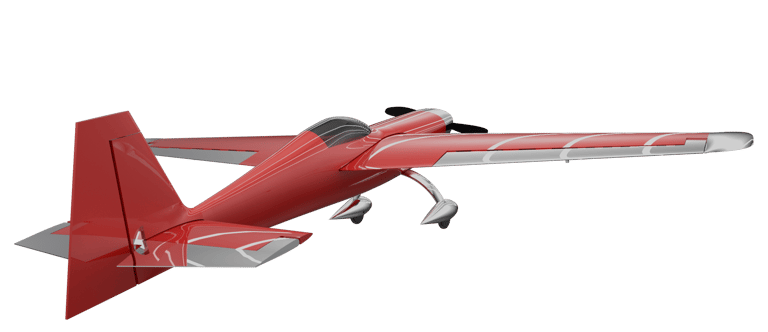
RF96 is Federico's three-year thesis project. He put into this project all the knowledge he acquired in his three-year degree course, his experience in the aeronautical sector and 3D printing technology, and succeeded in creating a fully functional radio-controlled scale prototype.

STEP 1:
DESIGN
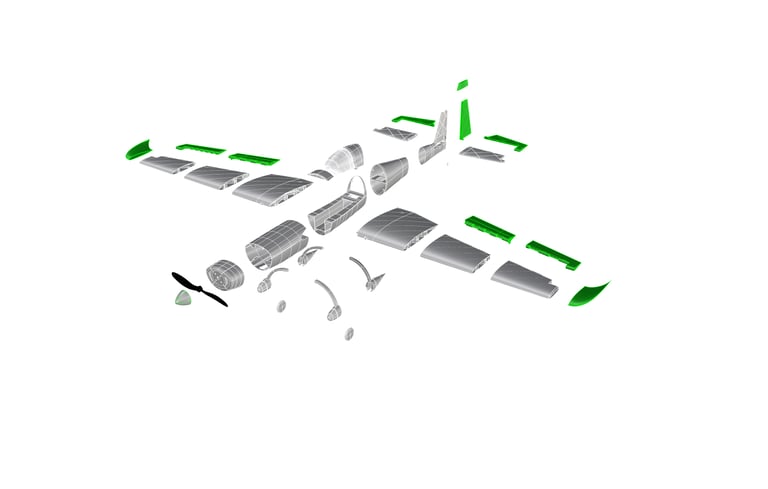

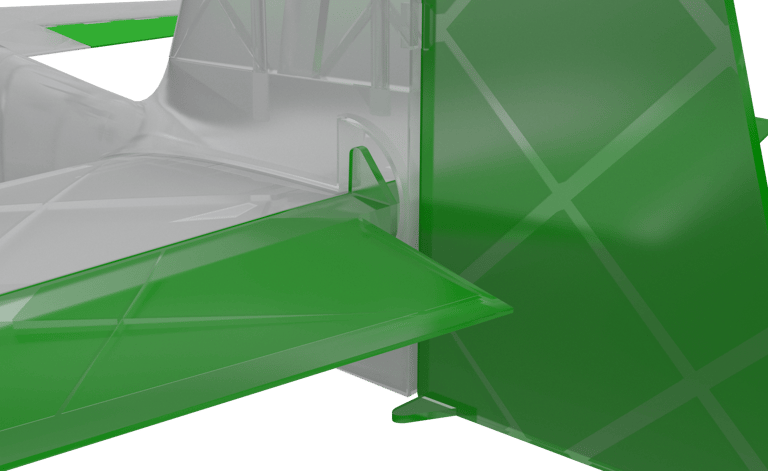
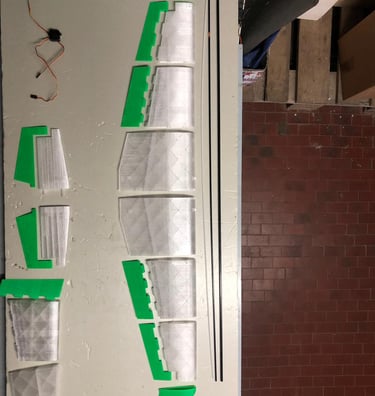
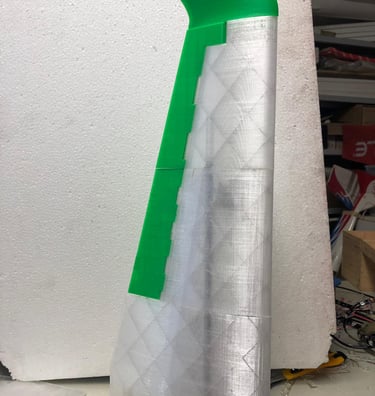
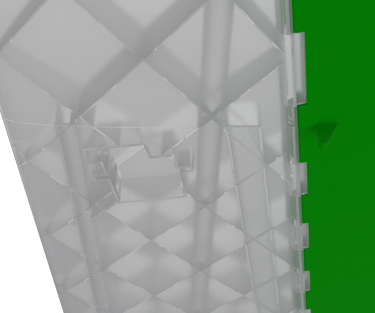
From the outset, the geometries were designed using CAD with a careful eye to optimising them for 3D printing, thicknesses were taken into account, the ribs inside the wing are angled at 45 degrees to be self-supporting, and the various parts were split to be able to be printed in most printers.
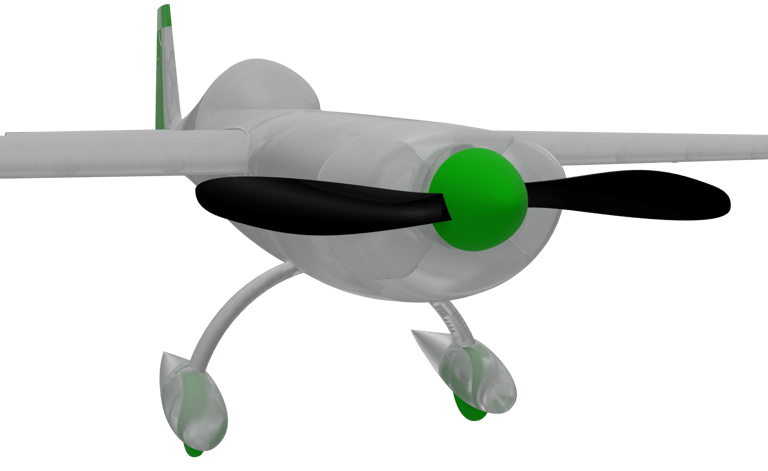

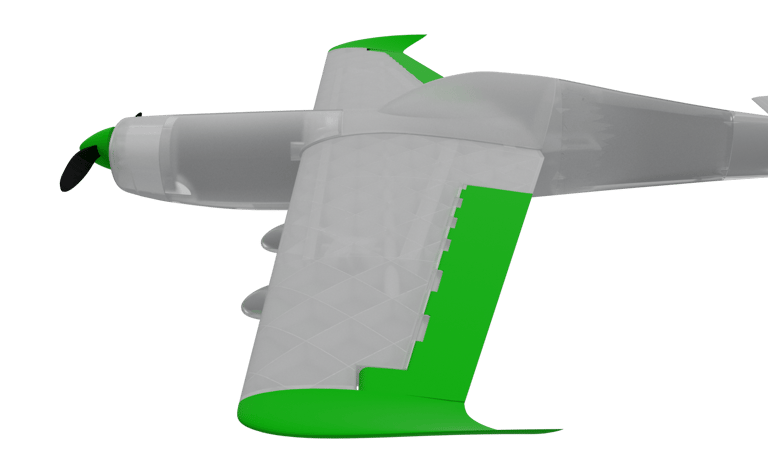

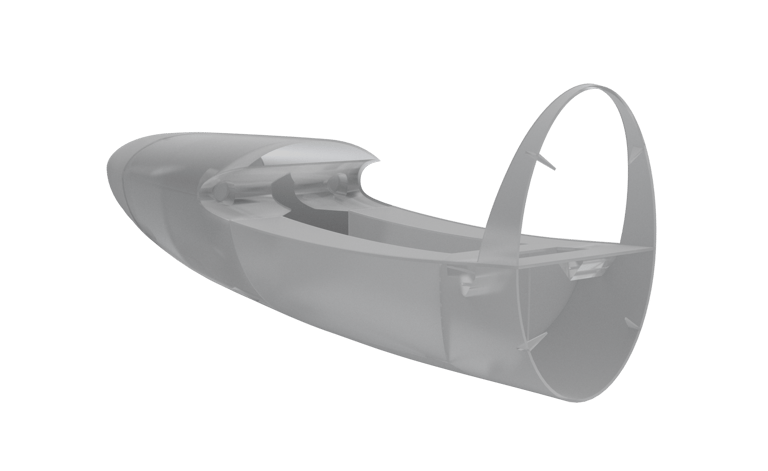

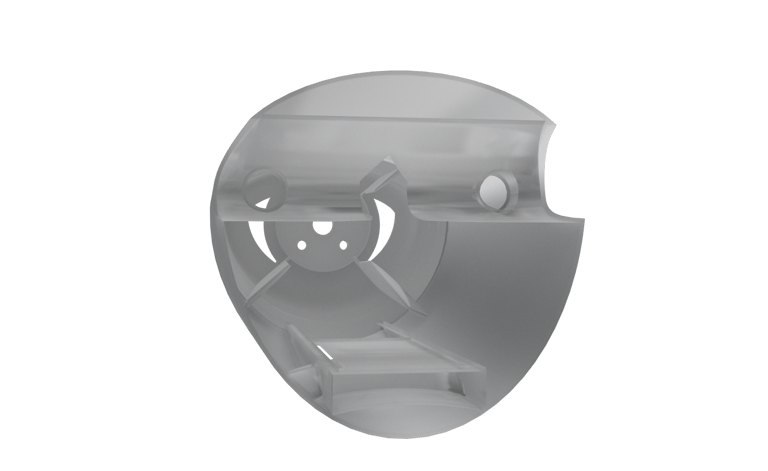

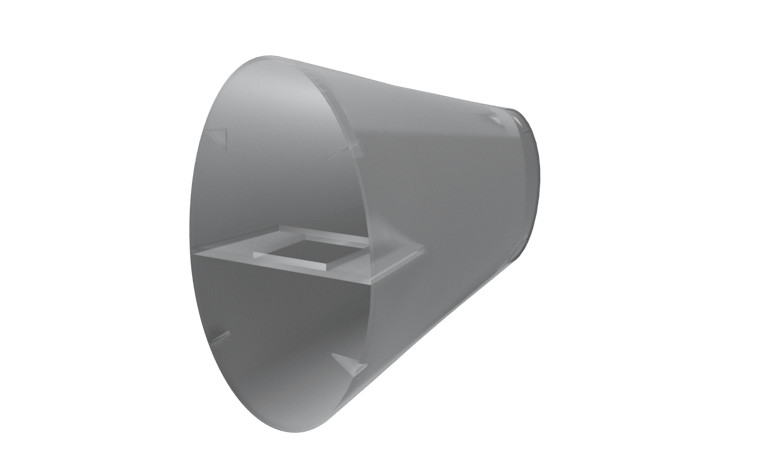

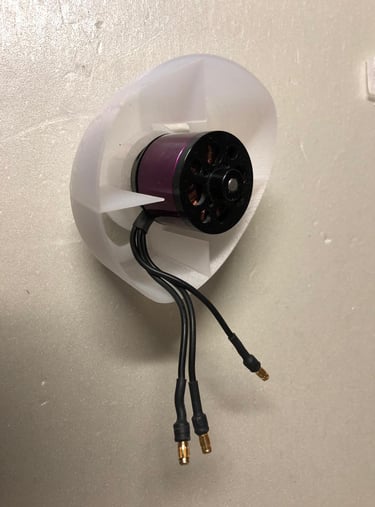
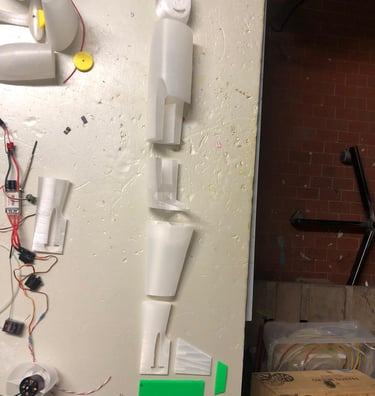
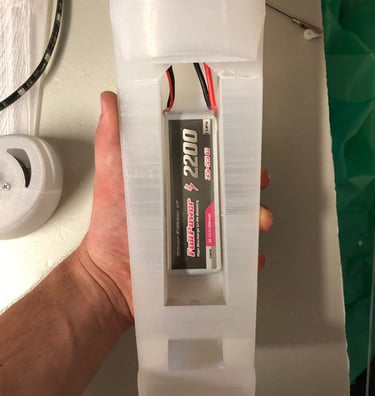
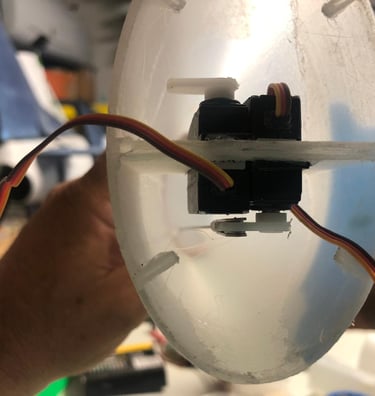
The fuselage has been divided into three main parts, the engine nacelle, with all the connections for a previously selected Brushless electric motor already provided, the central part with the battery housing and wing attachment, and finally the tail section with the servo housing and the connection to the centreboard and horizontal stabiliser, all of these components were designed and modelled with the moulding in mind, optimising weight, structural strength and facilitating the connection of parts

STEP 2:
3D PRINT
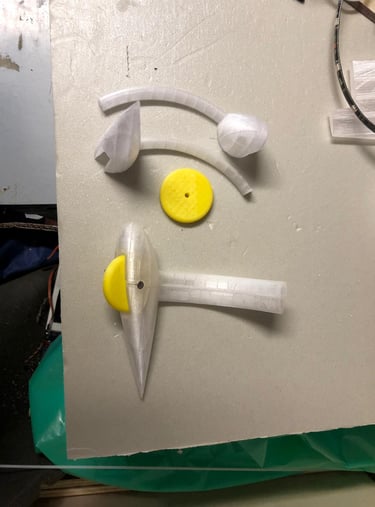
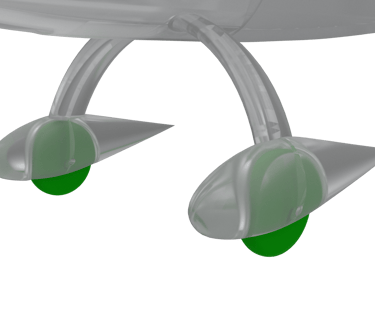
Once the 3D was finalised, all the parts were prepared for 3D printing. Pet-G was chosen as the material, which has excellent mechanical properties and ease of printing, except for the wheels printed in TPU, an elastic polymer that proved to be perfect for making tyres.
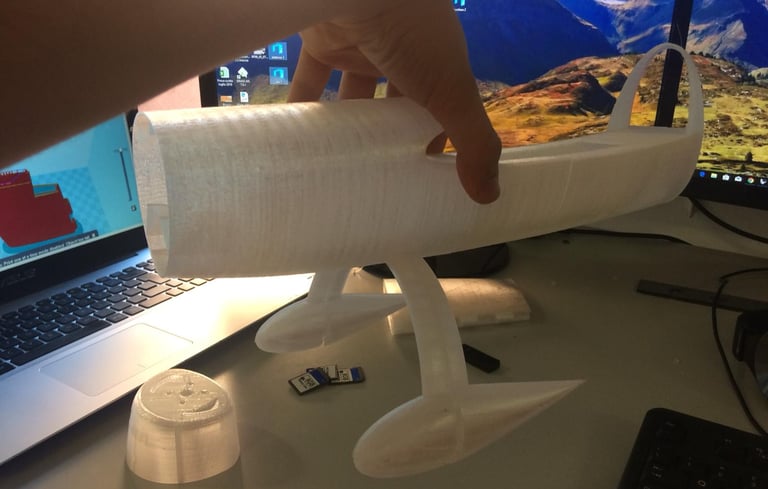

The components are moulded both structurally as well as aesthetically and functionally, all arrangements have been verified, in some cases some details had to be redesigned in order to achieve the best result.




STEP 3:
ASSEMBLY
From the outset, the geometries were designed using CAD with a careful eye to optimising them for 3D printing, thicknesses were taken into account, the ribs inside the wing are angled at 45 degrees to be self-supporting, and the various parts were split to be able to be printed in most printers.
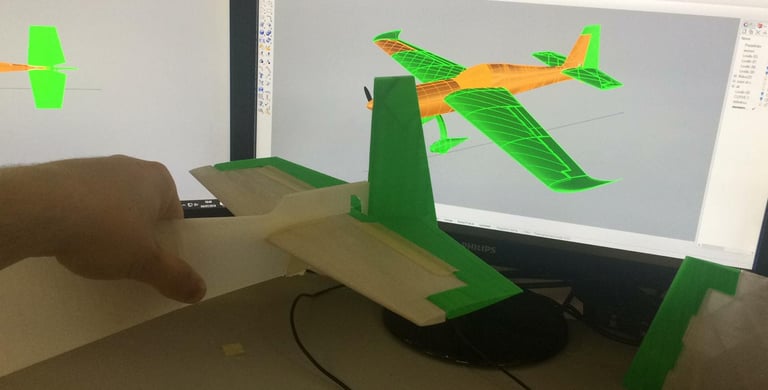

The components are moulded both structurally as well as aesthetically and functionally, all arrangements have been verified, in some cases some details had to be redesigned in order to achieve the best result.










STEP 4:
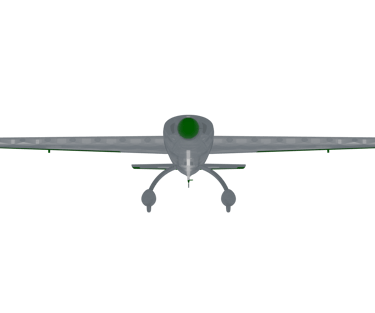
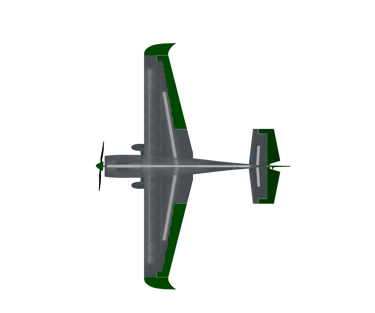
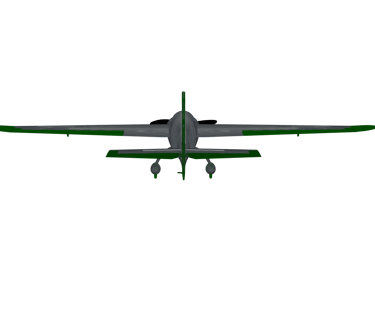
RENDER
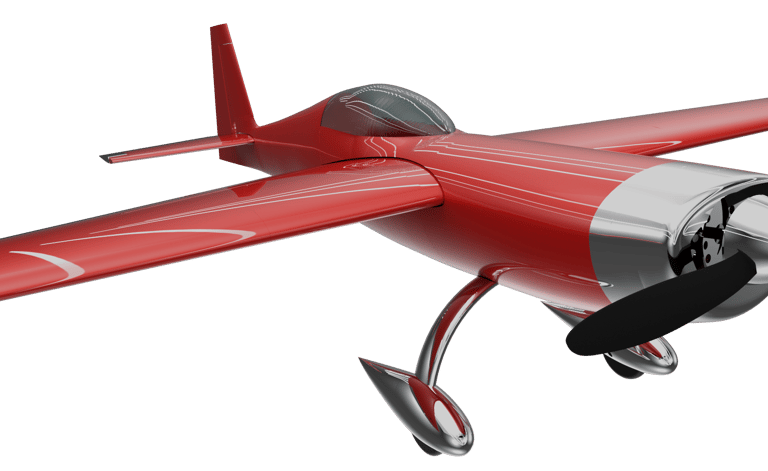
Renderings were made for presentation during the thesis exhibition, the renderings serve to help the viewer imagine the finished product, in this case the prototype would have been more than sufficient.
